
Press Menu 4 6 (Settings > Accessory settings).
2
Scroll to Headset, Handsfree, or Loopset, then press Select.
3
Scroll to Automatic answer, then press Select.
4
Scroll to On and press Select.
[ 73 ]
Personalize your phone
12
Set the default profile
When you use the headset, car kit or loopset, you have the option of
choosing a profile. You can use the currently selected profile (for example,
Normal) or you can choose from the list.
1
Press Menu 4 6 (Settings > Accessory settings).
2
Scroll to Headset, Handsfree or Loopset, then press Select.
3
Scroll to Default profile, then press Select.
4
Scroll to the profile you want, then press Select.
Set up the car profile
If you are using your phone with a Nokia-approved car kit, you can set
lights to On (lights stay on) or Automatic (after 15 seconds, lights turn
off until the next key is pressed or the phone rings).
Set up the loopset profile
The LPS-3 Loopset gives people with T-coil equipped hearing aids the
ability to make and receive calls without noise interference.
Important: Refer to the booklet that comes with the LPS-3 for
complete instructions and safety information.
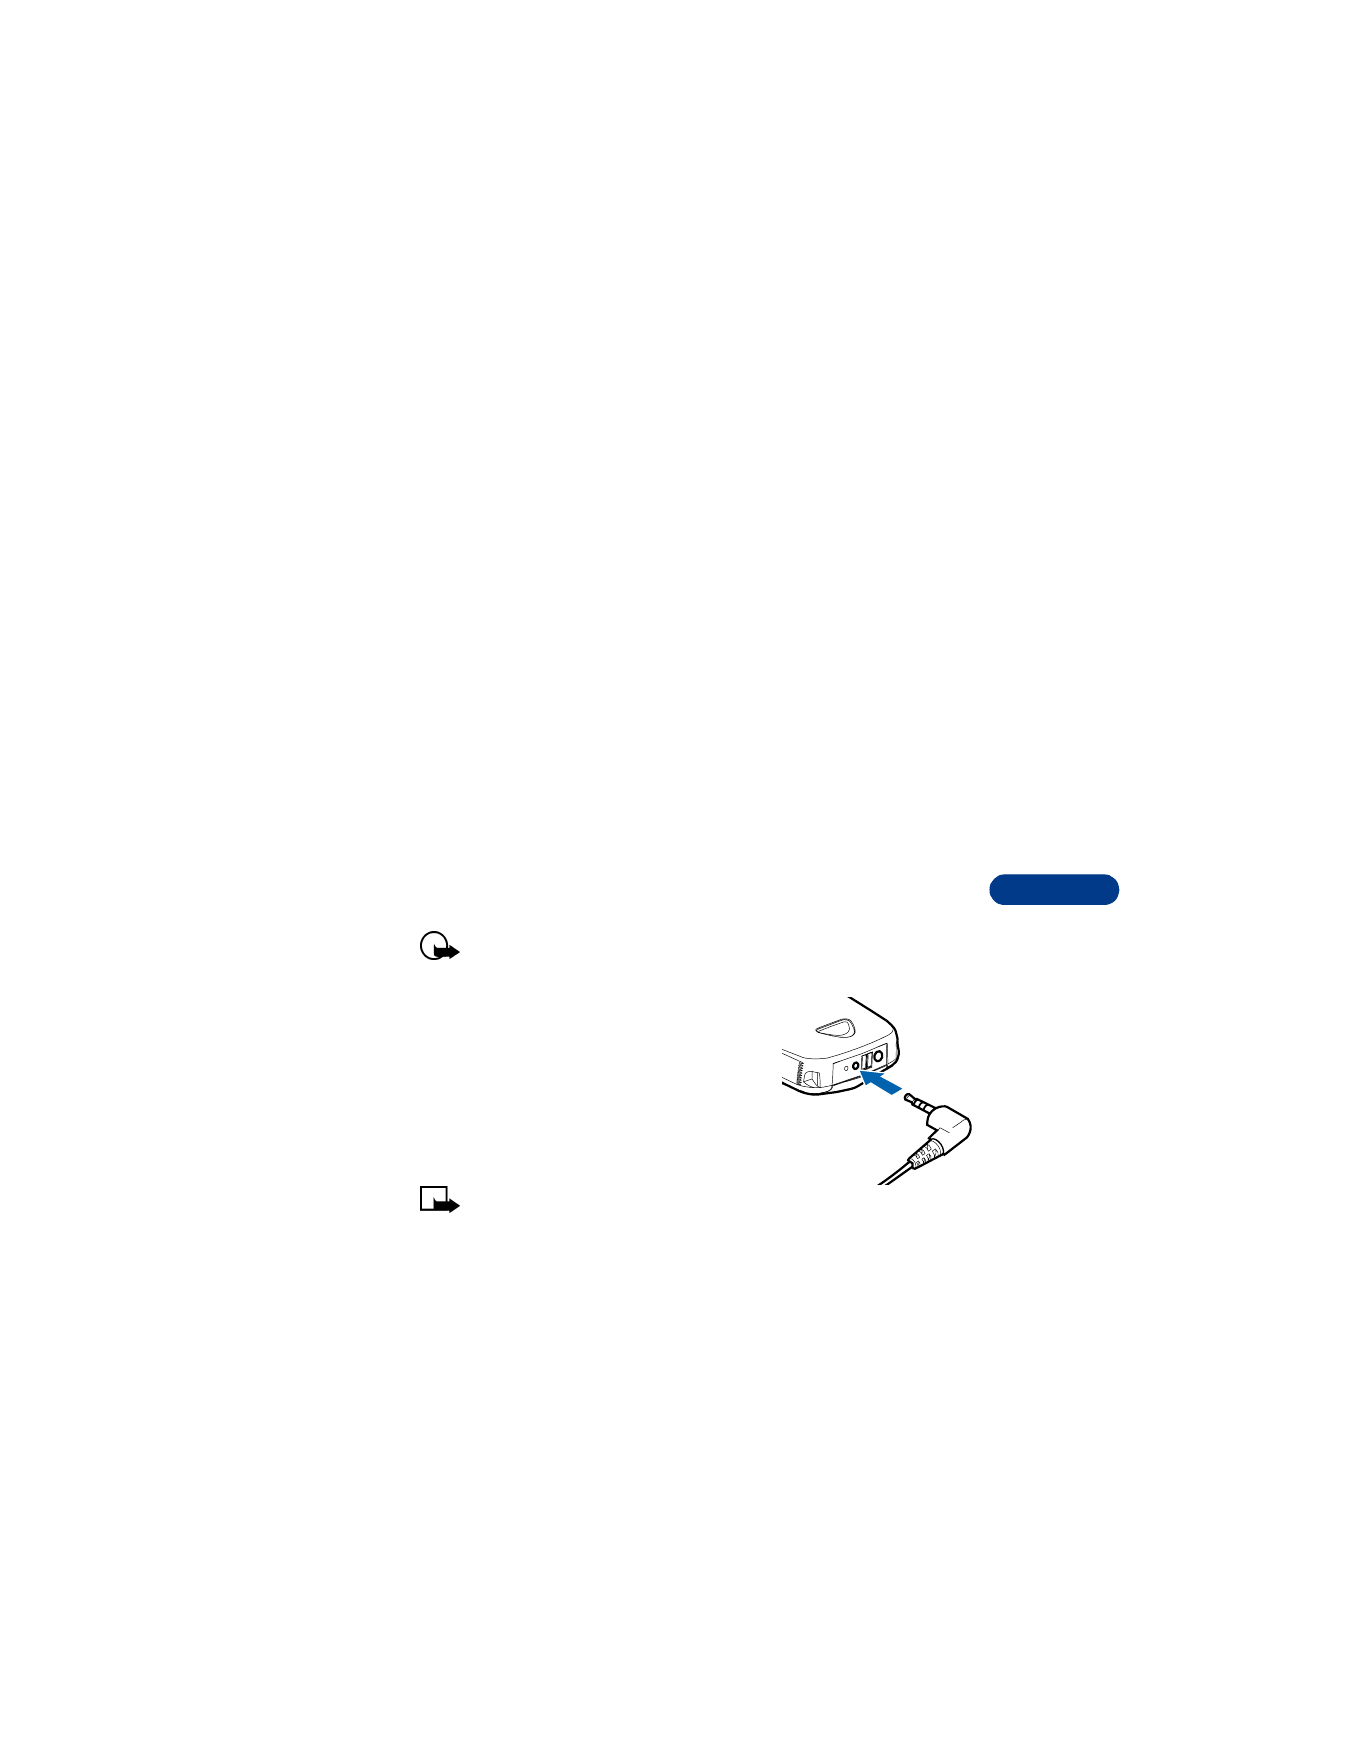
1
Plug the loopset jack into the bottom of
your phone, as shown in the illustration.
2
Press Menu 4 6 3 (Settings > Accessory
settings > Loopset).
3
Scroll to Use loopset, then press Select.
4
Scroll to Yes, then press Select.
Note: If you want to use the headset or
TTY, you need to follow steps 2-3 above, then select No to
deactivate the loopset profile.
Loopset

12
[ 74 ]
Set up the TTY/TDD profile
You can connect your phone to a TTY/TDD using the Nokia TTY/TDD
Adapter (HDA-9). In order for your phone to recognize the TTY/TDD, you’ll
need to set up the TTY/TDD profile, under Accessory settings.
Important: Some manufacturers of TTY/TDD devices suggest that
the phone be least 18 inches from the TTY/TDD device. Remember
— when connecting to any other device, read its user guide or
contact its manufacturer for detailed instructions and safety
information.
1
First, connect the TTY/TDD via cable to the HDA-9 adapter. Next, plug
the HDA-9 adapter into the connector on the bottom of your phone,
as shown in the illustration.
2
Press Menu 4 6 4 1 (Settings > Accessory settings > TTY/TDD > Use
TTY).
3
Scroll to Yes, then press Select.
NOTES ABOUT TTY/TDD CALLS
•
The Nokia TTY/TDD Adapter (HDA-9) is for use with compatible TTY/
TDD devices only. Check with the manufacturer of the TTY/TDD device
to ensure that the connection is compatible.

[ 75 ]
Personalize your phone
12
•
Check with the manufacturer of the TTY/TDD device for the
connecting cable.
•
TTY/TDD communications depend on network availability. Check with
your service provider for availability and description of services.
MAKE A TTY/TDD CALL
Tip: Before making a TTY/TDD call with your Nokia phone, check the
signal strength. See page 21 for more details.
1
From the Start screen, enter the number and press
.
2
When the receiving party answers, begin typing your conversation on
the TTY/TDD.
RECEIVE A TTY/TDD CALL
Tip: You may find it helpful to use the vibrating alert under the
Profiles menu. See “Customize a profile” on page 69 for details.
1
Make sure the TTY/TDD device is connected to your phone.
2
Press
to answer the call, then type your responses on the TTY/TDD.
END A TTY/TDD CALL
Press .